Wednesday, April 30, 2014

You'll never believe it.


I crocheted.

Yup.  You read that right.  I crocheted.  

I bet you thought yarn was over with.  A thing of the past.  I couldn't help it.  I had to show you what I made for my sister's birthday.

Long ago, my mom taught me a single crochet stitch, so I could make a (very simple) afghan for a Christmas present.  I'm not sure how many times I asked for help, but it was a ridiculous amount and she pretty much did the whole thing for me - she started it out, chained the first row, finished it off, and blocked it since I didn't know how to do any of that.  What did I do?  Made unnecessary knots and asked for help, basically.

I was inspired to break out the old crochet hook during the 3 + weeks of Yarn it All! though.  
I made Lise the 

Which is the same kind of crochet necklace I'm sure you've seen before.  Basically you just chain a very very very long piece of yarn.  Just chain one on, again and again.  For like 20 feet.  (No, really, that's not an exaggeration).  

Then I did that again with a different color, but only did about 10-12 feet.  Then I wrapped them up and kind of twisted them as I laid them together (it took more time to figure out how best to do that than to crochet the darn thing. I undid it like 20 times.)  

Then I just wrapped yarn around the part where the ends came together.  I did use a little hot glue to secure the ends and the knot.

Essentially, I used Mandi's tutorial from year one of Yarn it All!  which you can find here.  So awesome.  As are all of her other crochet tutorials from that series, and now I want to make every one of them.

No, it's not perfect.  But still.  I crocheted something.  Feels pretty good.


*Be sure to check below for all the fun parties I link to!*

Tuesday, April 29, 2014

Nope. NOT condoning gun violence. Camera violence, maybe.


Hey all!  My photography post went up yesterday over on Hi! It's Jilly! where I'm a monthly contributor.  This month we're talking about:


10 tips for shooting your kids.  With a camera.  (let there be no confusion...)

So go check it out.  There are plenty of examples of what NOT to do thanks to my hooligans.

Heads up, it's bound to be a little quiet around here this week and next.  I'm recovering not only from Yarn it All! 2014 (which was epic, by the way) but also from Spring Break - which should NOT be called Spring Break since it is neither springy, nor a break for me.  It should be called Fake Spring That Feels Just Like Winter Fake Break That Feels Like Work Since There Are More Kids To Entertain And More Hours To Fill.  Right?  Anyway, I've got a few things ready to go up so I won't be completely MIA.


*Be sure to check below for all the fun parties I link to!*

Thursday, April 24, 2014

It's a {yarn} WRAP.

yarn it all series button photo 5bfe07cd-d182-4e81-b6f8-0a7a0b082333_zps7aed4c03.jpg


I hope you've had as much fun with Yarn it All! 2014 as I have!  There's so much yarn inspiration with this edition of the yarn series, it'll keep you busy for loooong time.  Hopefully at least until next early spring when we do it all again!

In case you need an easy reference to all these awesome yarn projects, I've gathered them all together in one convenient location: here!  Let's wrap it all up with an awesome yarn bow!


Don't forget to check out all the awesome ideas from our link party!


Special thanks to all our guest post-ers and Call Her Happy for providing our awesome giveaway!  Go check out her etsy shop and all her super cute mini embroidery hoop necklaces.


 And that's a {yarn} WRAP!  Until next year...


*Be sure to check below for all the fun parties I link to!*

Wednesday, April 23, 2014

YARN Features!


I had fun looking over all of the links at our Yarn it all! Link Party.  You should definitely go check them all out!  I had to set myself a limit of 6 to feature or I would have featured all of them.


Kellystar
Such a pretty Spring Wreath!  Love the bunny and the pastels.


Elizabeth Joan Designs
People.  You will never believe what this tres chic basket is actually made from.  Seriously.  Go see. 


homemade@myplace
Um, why yes, this IS an adorable fox crocheted from GRANNY SQUARES.  Hello?!  


It's Always Ruetten
Such an adorable American flag inspired 4th of July Wreath!  It's right around the corner, so I should whip this up.  (It IS right around the corner, right?  Summer WILL get here eventually, right??)


Pickled Okra by Charlie
Oh my gosh, you HAVE to go see this doll.  (And then while you're over there, check out all her other dolls, too.  Holy cute.)  Her hair is a yarn wig!  I want a yarn wig for me!  


2 Crochet Hooks
This just made me laugh.  Love a little zombie action?  Check out this Zombie Tissue Holder.  Seriously.


Thanks for linking up everyone!  Loved it all!  

If you were featured, you can grab this button:

<a href="http://bugaboominimrme.blogspot.com/"><img src="http://i799.photobucket.com/albums/yy276/kbmueller/Beautifying%20Blog%20Pictures/4f61340b-3671-45de-a753-ea30c981ee76_zpsb5e792ac.jpg"/></center>


*Be sure to check below for all the fun parties I link to!*

Tuesday, April 22, 2014

yarn craftiness round up with Hi! It's Jilly!

Today, our very last guest of the series is here!  Jilly has a great blog you should check out for all of her fun ideas, random tips and mommy fun.  She's here to share a round up of crafty yarn ideas with you!

***

Hi! It's Jilly. I blog over at...Hi! It's Jilly. I'm happy for the chance to participate in Kim's Yarn It All series! I've rounded up a nice little collection of yarn crafts for you to try out!
Wreaths:

Free Patterns:

Also, here's the link to a few great online shops that sell "yarn" goods:

***

Thanks Jilly!  You know I love a good yarn wreath... Hope you guys found some inspiration here!


*Be sure to check below for all the fun parties I link to!*

Monday, April 21, 2014

because we are dreaming of warm weather.


Today is my final tutorial!  I'm a little sad to see Yarn it all! go once again... I have so many yarn ideas yet to be implemented!  But we'll save those for another year.

Today, I'm dreaming of summer... or at least no snow.  I made something to help the weather along!


Initially this was only going to be a tutorial for the rainbow ones, so the pics are heavily weighted in that direction, sorry.  I found that when I started in on adding yarn to flip flops, I just couldn't stop!  And since I had several plain pairs laying around waiting for miss mini, I just went to town.

First up, 


1. Cut red, orange, yellow, green, blue and indigo yarn all the same length - quite long.  (if you have violet, throw that in there too!)
2. Line up your yarn in rainbow color order.
3. Fold your yarn in half.
4. Put some hot glue on the end of one side of the flip flop strap where it goes into the sole. 
5. Lay your yarn bunch down on the hot glue, right in the center where you folded it.
6. Put a little hot glue on the outside of the strap.
7. Wrap the yarn that's on the outside under the strap to the inside.
8. Wrap the yarn that's on the inside over the other yarn, under the strap and to the outside.
9. Pull it tightly.
10. Take your first color - indigo - and separate it from the other colors.  
11. Cross the two indigo strands over the other yarn and pull them to the opposite sides.
12. Take your next color - blue - and do the same thing; cross the blue strands, making sure they are over all the other colors.
13. Do this with your next color.
14. And your next and next, until you've crossed each color individually.
15. Now you need to wrap each color individually behind the underside of the strap.  If you skip this part, you'll end up with a weave on top of your strap instead of around your strap.
16. Wrap each color underneath, crossing them to opposite sides of the strap until you've done each color.  
17. Now start over crossing the individual colors on top again.
18. And go through all the colors until each has been done in order.


19. Continue in this way - crossing colors individually first on top all through the rainbow, then underneath all through the rainbow - until you get to the toe separator. 
20. Put a dab of hot glue on top and press the yarn from the outside down.
21. Put a dab of hot glue underneath and press the yarn to the inside down.
22. Pull the yarn from the inside of the flip flop under the strap and to the outside.  
23. Pull it tightly against the hot glue area.
24. Repeat steps 1-22 on the other strap of the flip flop.

25. When you are all finished, just trim off the ends of the yarn.

And try them out!

Next up:

So easy and don't require any glue at all.
All you need are cheap flip flops, two yarn colors, scissors and... uh, that's it.
1. Measure how long you want your yarn.  Make it twice the length of the whole flip flop top.
2. Cut five strands that long.
3. Tie the strands together at the end with the second yarn color.
4. Braid.  Use the five strand braid.  You can find a tutorial for a 7 strand braid here, just omit two of the strands.
5. Cut a long piece of the second color and slip it under the end of the flip flop strap where it goes into the sole.
6. Lay your braid down on the strap and use the strand of yarn under the strap to tie the braid down.  Use a double knot and tie right over the existing yarn and knot on the braid.
7. Move down the strap about an inch or two, cross the ends of your yarn strand under the strap, then cross them above the braid.
8. This is what it looks like on top.  Just pull the strand tightly.
9. Cross the strand ends below the strap then on top once again.  Then do this again, right next to the toe separator.
10. Pull tightly.
11. Cross the strand ends below the strap, on the other side of the toe separator.
12. Mimic what you did on the first strap to the second strap, crossing the strand of yarn under the strap and over the braid.
13. When you get to the end of the strap, tie a secure knot.
14. And this is what it will look like.

 15. Then just trim the ends on both sides of the flip flop!

When you are wrapping the braid on there, make sure to straighten it and pull it flat as you go.

If you are anything like my daughter, it will be fairly impossible to get a decent picture of them in action.

And finally:

You need cheap flip flops, yarn, a darning or doll needle, two focus buttons (like big with bold patterns) and other buttons in different sizes.  I used about 14 buttons on each flip flop (besides the giant ones in the center.)

1. Thread your needle with a long piece of yarn.
2. Tie the end of the yarn to the end of the strap where it goes into the sole.
3. Hold the short tail of the yarn down.
4. Wrap the yarn around the tail and strap for about an inch or two.
5. Thread your first button onto your yarn.
6. Pull it tightly up against the flip flop.  Wrap the yarn around the strap on either side of the button just a few times.
7. Thread on your next button.
8. Pull it tightly against the flip flop and first button, then wrap the yarn a few times very tightly.
9. Continue doing this.  When you get to the toe separator, add your large focal button and wrap the yarn around the strap a few times.
10. Add your last button about an inch or two before the strap ends.  Then wrap the yarn around the end of the strap.
11. Stick your needle into the yarn.
12. Pull it through.  Knot it to the wrapped yarn.

 13. Then trim the yarn.  Done!


 My favorite part?  I didn't have to know how to crochet to do them!  And they still look cute!  
Here are the pretty new yarn flip flops all ready for summer.

Although the weather's not quite there yet...

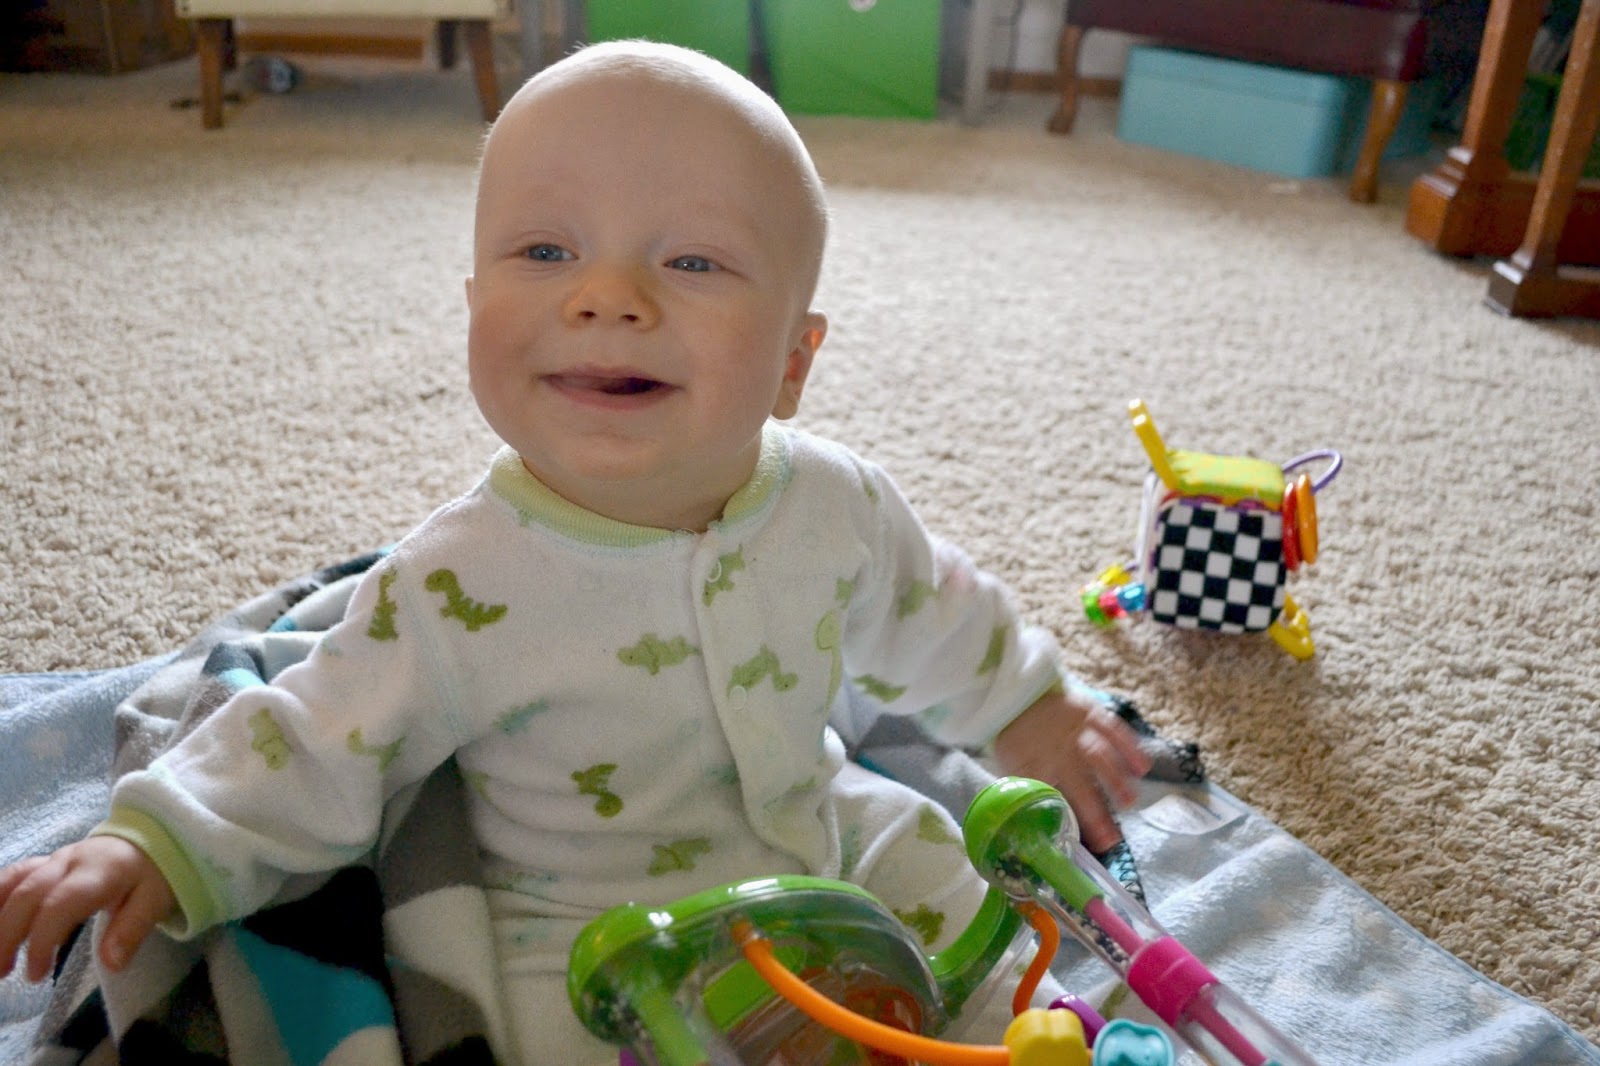
And this guy?  He was remarkably pleasant and not up to any mischief, surprisingly!


Stay tuned for one more round up, some features and a wrap up!  Woo hop!


*Be sure to check below for all the fun parties I link to!*

Sunday, April 20, 2014

because of him.


Because it's Easter Sunday, I've decided to take a little break from yarn and let you (and me) celebrate this awesome, amazing day.  I have one more project to share, one more guest post, then features and a wrap up!

But for today, let's forget about all that.

Let's focus on this.

It's a beautiful reminder... #becauseofhim, my life has meaning.  My family is forever.  My past is in the past.  I don't have to do it - carry my burdens, drag the guilt, suffer the paints and illnesses and anguish, any of it - on my own.  Goodbye's are but fleeting moments.  All I love can last eternally.

Because of Him.

Happy Easter.


And if you don't celebrate Easter, Happy Sunday!  Have a beautiful, relaxing, inspiring Spring day!


*Be sure to check the right sidebar for all the fun parties I link to!
Related Posts Plugin for WordPress, Blogger...