


I have a confession. I have this thing mr likes to call “post party depression.” (I know, isn't he clever?...) Anyway, so I have post-party depression after most holidays or big events, but this year I got it BAD after Christmas. mr says it’s because of all the time and effort I put into homemade gifts for EVERYONE on our combined lists - because, you know, I’m insane - and I think he’s mostly right. I also think it had to do with not feeling AT ALL Christmasy right up until Christmas Eve, and then BAM it was all over. I did put an inordinate amount of stress on myself, and because I was crafting and sewing like a mad woman, I don’t have much in the way of tutorials to put up for the gifts I made... I felt like the white rabbit - “I’m late, I’m late, I’m late!” I do have pictures and hope to give you some mini how-to’s this week. Here’s a rundown of what you may find soon:
personalized clay key chains
personalized picture key chains
Glass charm necklaces
some headbands (zipper flowers, vintage earrings, buttons, felt...)
antique book page flower pin
Asian Zing Sauce Knockoff (for any B-Dub fans out there... it’s good stuff.)
Many “Stay Put Bookmarks”
monogrammed aluminum water bottles
a pom-pom tutu with pom-pom accessories
wrist cuff from leather belt
An “all-in-one portable play kitchen” complete with felt breakfast, lunch and dinner (this one may have been my favorite)
Freezer paper stenciled “funny” shirts
2 sets of "Bowling Buddies"
2 Zipper pouches
4 sock snakes
1 sock owl
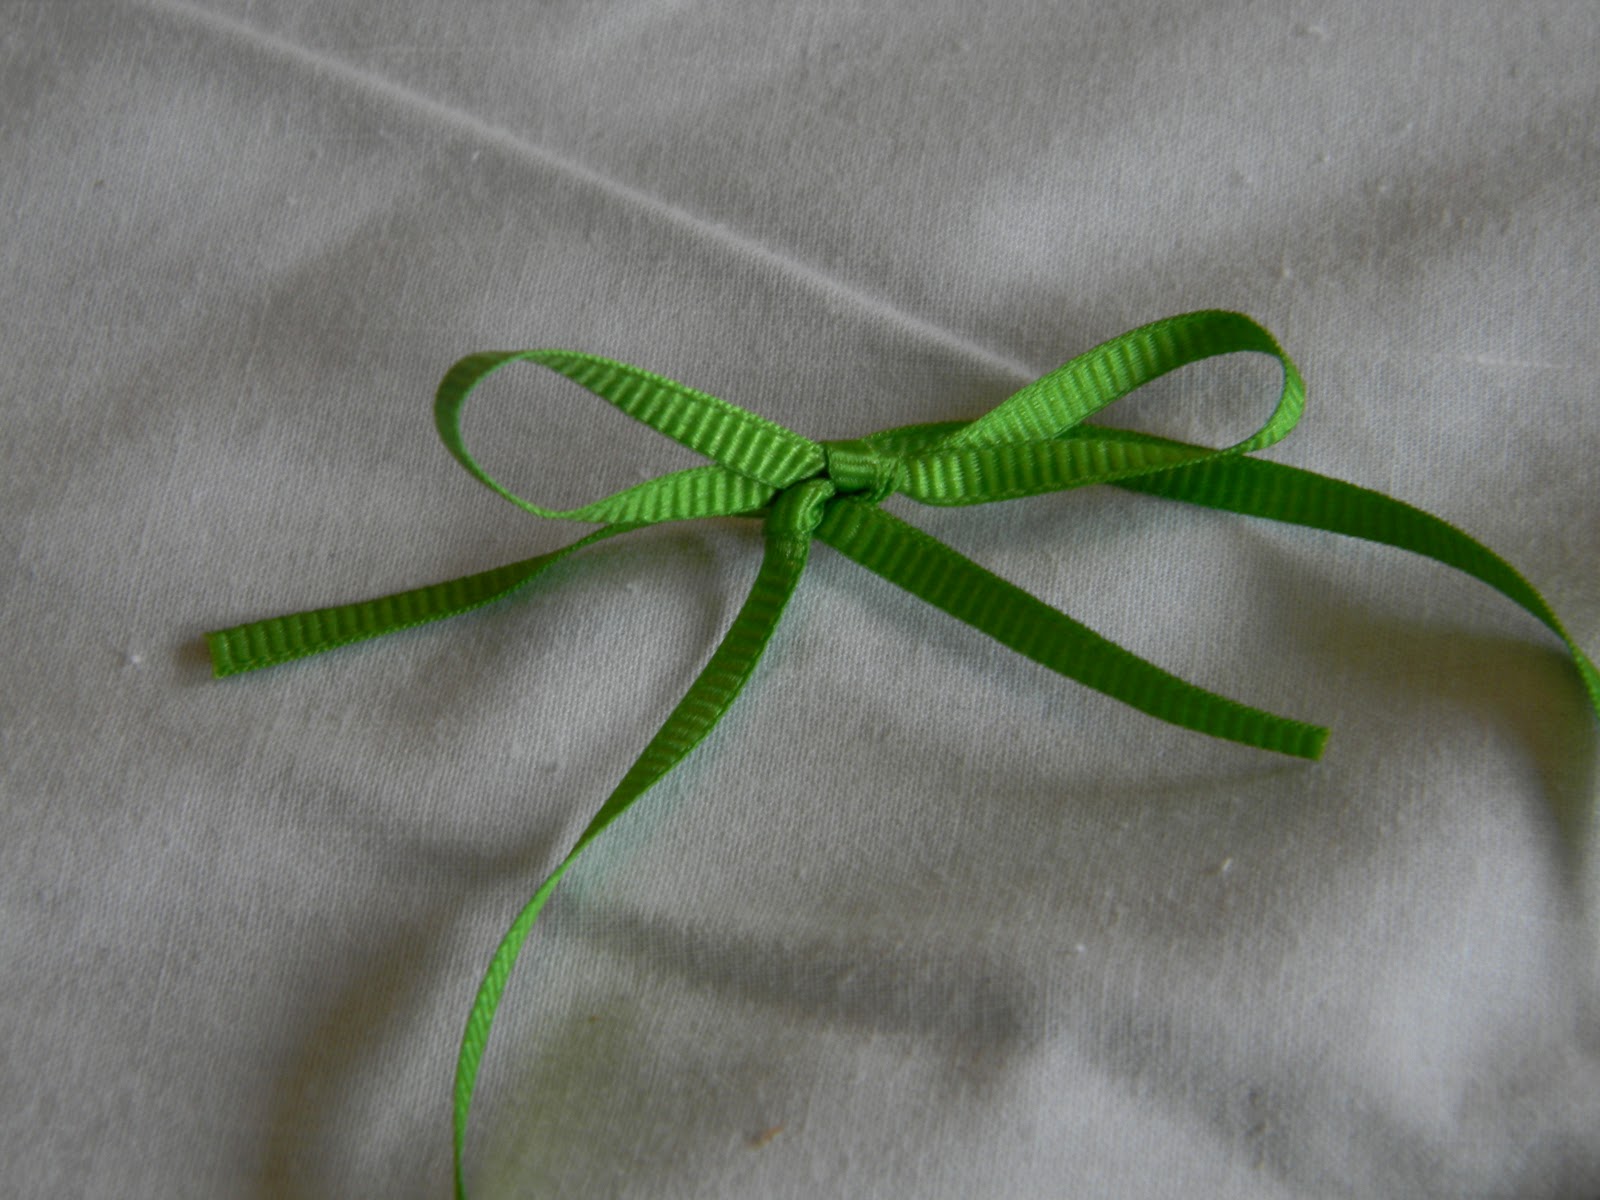
3 bow ties
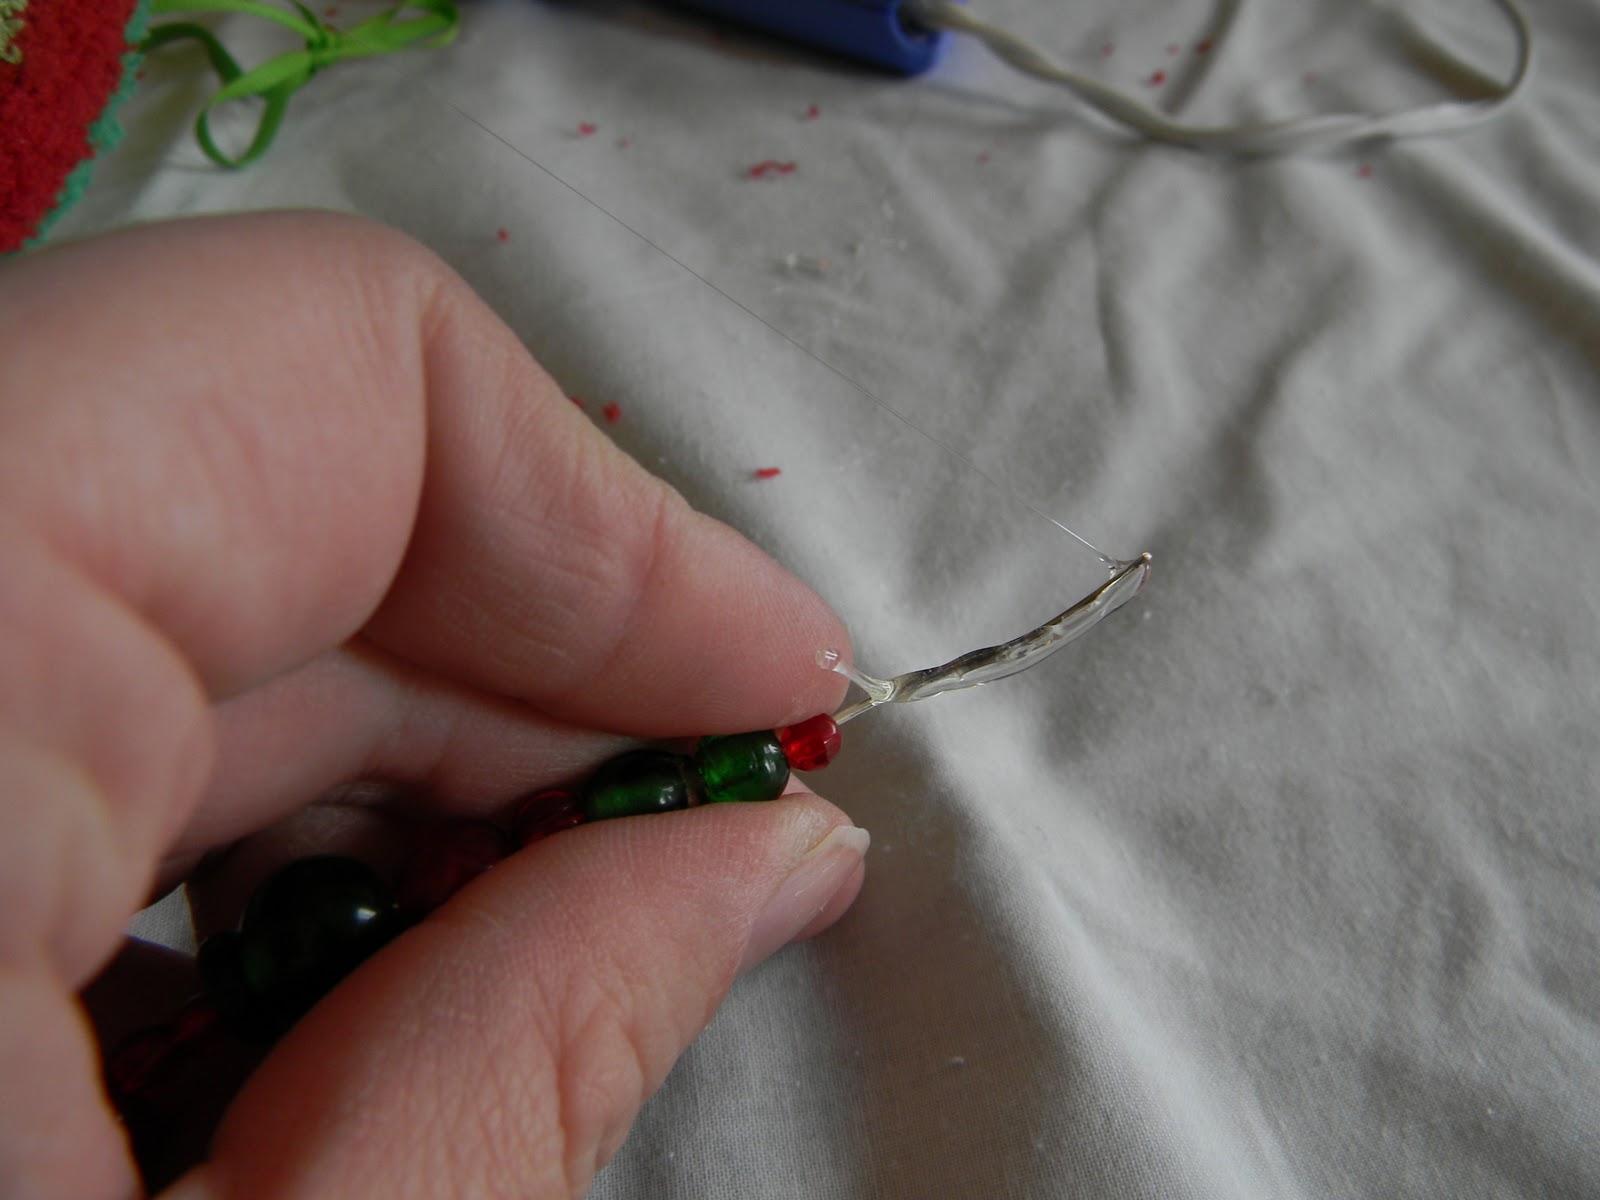
3 beaded necklaces (three different kinds!)
2 more necklaces on chains
1 rolled rosette bib necklace
Ok, I feel like I missed something, but you get the idea. It was craziness. I should have started a year ago, and instead I made it all in about a week and a half. Which is why the ones we sent in the mail were late. (Merry Christmas today, people!)
I wish I could say the insanity is totally over for the season, but SOMEONE has a birthday (today) and that little boy wants a “planes, trains and automobiles” party. We’ll see how that goes...
I did want to share something more worthwhile than my list of pure madness, though, so here is my new Baclava recipe I tried out this year! Along with the usual peanut butter blossoms, cut out cookies, magic cookie bars, toffee squares, pecan balls, snickerdoodles, cake pops, and pecan pie bars that my mom and I made for Christmas, I decided to try Baclava. I loved it! Mom said this was the best Baclava she’d had, and my brother loved it too. Having never made Baclava before, I can’t really compare it. But I know it was yummy.

Pistachio Baclava
Ingredients
1 (16 ounce) package phyllo dough
1 pound chopped pistachios
1 cup butter (softened)
1 teaspoon ground cinnamon
1 cup water
1 cup white sugar
1 teaspoon vanilla extract
1/2 cup honey
Directions
Preheat oven to 350 degrees F(175 degrees C). Butter the bottoms and sides of a 9x13 inch pan.
Chop nuts and toss with cinnamon. Set aside. Unroll phyllo dough. Cut whole stack in half to fit pan. Cover phyllo with a dampened cloth to keep from drying out as you work. Place two sheets of dough in pan, butter thoroughly. (Make sure your butter is softened. It will be much easier) Repeat until you have 8 sheets layered. Sprinkle 2 - 3 tablespoons of nut mixture on top. Top with two sheets of dough, butter, nuts, layering as you go. The top layer should be about 6 - 8 sheets deep.
Using a sharp knife cut into diamond or square shapes all the way to the bottom of the pan. You may cut into 4 long rows the make diagonal cuts. Bake for about 50 minutes until baklava is golden and crisp.
Make sauce while baklava is baking. Boil sugar and water until sugar is melted. Add vanilla and honey. Simmer for about 20 minutes.
Remove baklava from oven and immediately spoon sauce over it. Let cool. Serve in cupcake papers. This freezes well. Leave it uncovered as it gets soggy if it is wrapped up.

It was hard to cut it into diamonds. But that was probably just my poor cutting ability and dull knives.
On another note, if you are like me and suffer from post-party depression, or any kind of Christmas-related let down... or even if you just aren’t quite ready to say good bye to the season yet, I encourage you to go HERE and read this amazing message from Jeffrey R. Holland. It is INCREDIBLE and it totally changed my Christmas season. I will read again next year, and the next and the next... and it will help me remember the real cause for celebration every time.